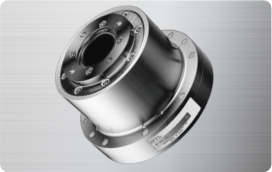

Shaft-Type and Hollow-Shaft Type Rotary Encoder
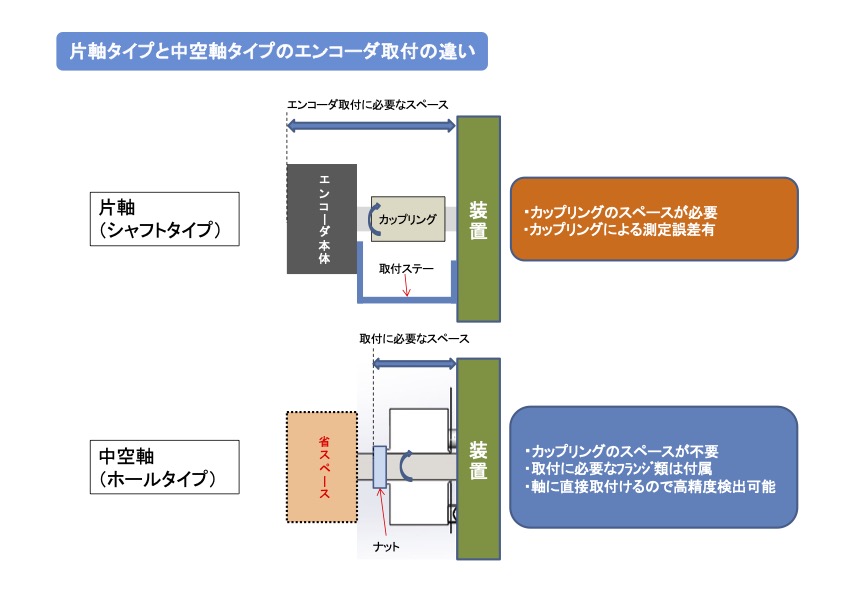
Compared with shaft-type encoders, hollow-shaft encoders can be installed without a coupling, helping you save space.
Also, because they can be mounted directly onto the measured shaft, this structure helps reduce installation misalignment and mechanical errors.
At Microtech Laboratory, our model names make the type easy to identify, for example MES (Shaft type),
and MEH (Hollow-shaft type).
Benefits of the Hollow Type
High-accuracy detection
The hollow-shaft design allows direct mounting onto the measured shaft. Unlike shaft-type encoders, no coupling is required. Because it can be mounted to fit your machine structure, mechanical errors are reduced and shaft rotation can be detected with high accuracy.
Space saving
Because it mounts directly onto the mating shaft, the number of mounting parts can be reduced. Since no coupling is used, you can save space in the axial direction.
Cost reduction
By simplifying mechanical components, it helps reduce the total cost of the machine.
How to Install a Hollow-Shaft Encoder
When installing a hollow-shaft encoder, we recommend using a spring flange.
This helps absorb machine vibration to protect the encoder shaft, and also makes it easier to align the encoder during installation.
1) Attach the spring flange to the encoder
Mount the optional spring flange to the PCD mounting holes on the encoder base using the included accessories: “flat-head screws, countersink A, countersink B.”
2) Insert the encoder onto the measured shaft with a stepped section and threaded end
Machine a step on the measured shaft and add an external thread at the tip. Insert the encoder so the hollow-shaft end face is seated against the stepped surface.
3) Clamp and fix the encoder in the thrust direction with a nut
Tighten the nut to clamp the hollow shaft in the thrust direction.
*Before tightening the nut, lightly rotate the encoder shaft and tighten at the position with the least runout.*
4) Fix the spring flange to the machine housing
Finally, use the outer mounting holes of the spring flange to fix it to the machine housing. (Housing mounting screws are not included.)
When fixing to the housing, use a spacer of 2.5 mm or more between the spring flange and the housing so the spring flange does not contact the housing. (Otherwise, the spring function cannot be maintained.)
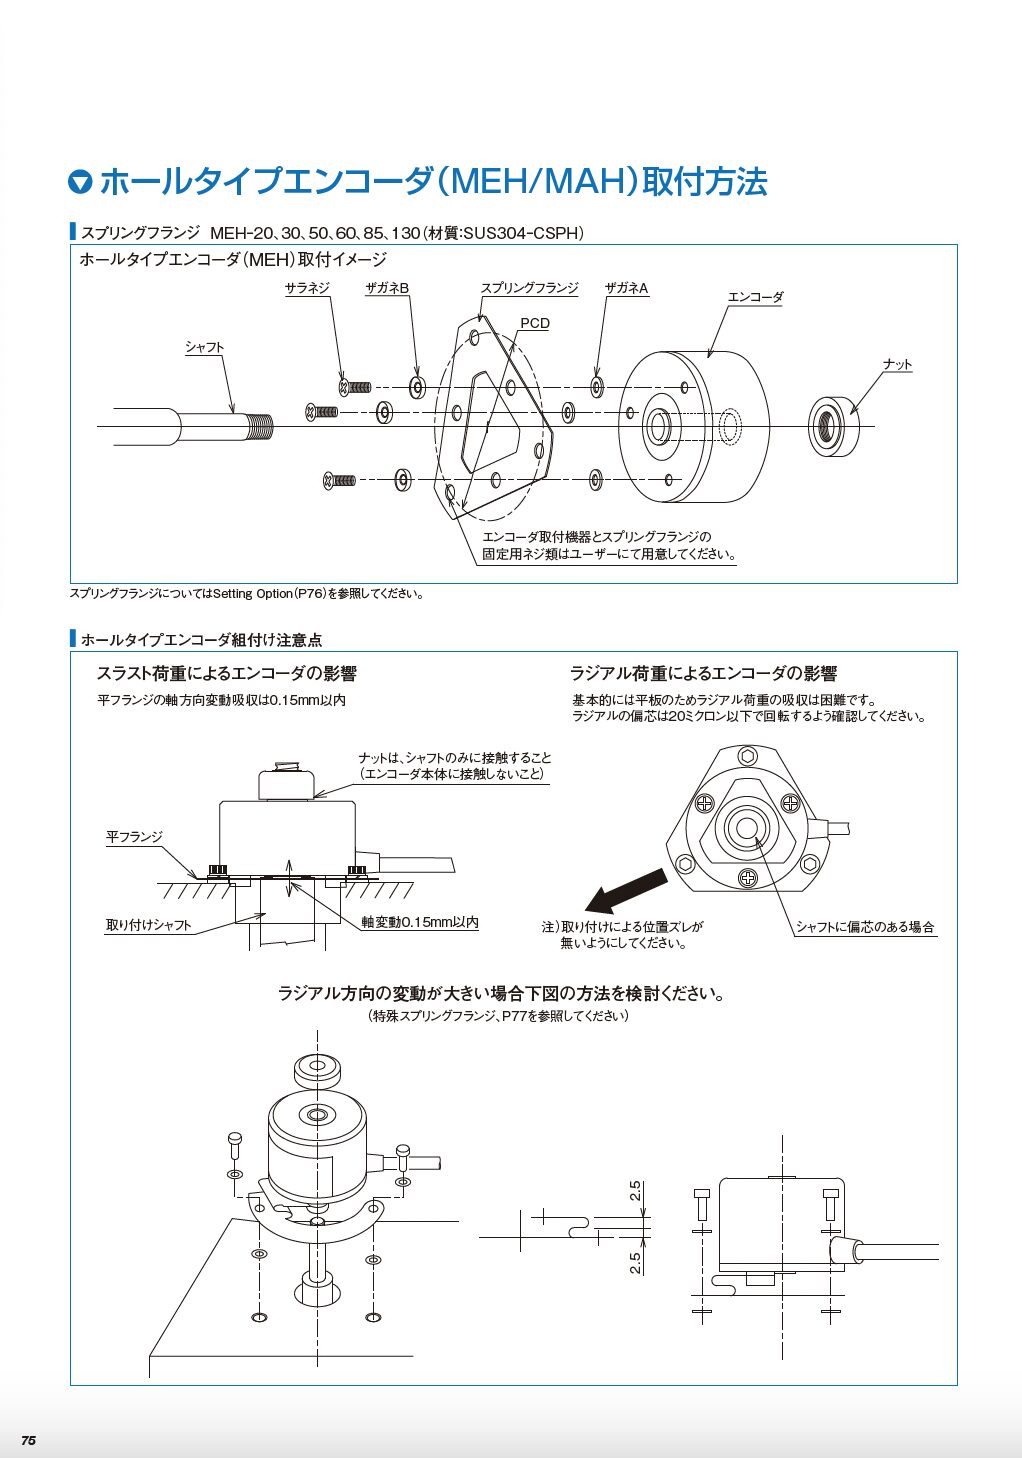
Because the spring flange is a flat plate, it is difficult for it to absorb load caused by radial eccentricity. Please ensure radial eccentricity during rotation is 20 μm or less.
If the radial variation is large, we can provide a special spring flange, so please use that option.